In this article I’ll show you three ways to connect to your cluster – Kubectl, Lens and Kubenav.
During K3s installation a kubeconfig file is written to ‘/etc/rancher/k3s/k3s.yaml’. You will need this file to connect to your cluster with your preferred Kubernetes client. Your kubeconfig will like somehow like this:
apiVersion: v1
clusters:
- cluster:
    certificate-authority-data: LS0...
    server: https://127.0.0.1:6443
  name: default
contexts:
- context:
    cluster: default
    user: default
  name: default
current-context: default
kind: Config
preferences: {}
users:
- name: default
  user:
    client-certificate-data: LS...
    client-key-data: LS...
If you want to connect from a different host you have to change the server endpoint and enter a hostname / IP address under which the cluster is reachable. If a Firewall is active on the cluster node you might have to open the port 6443/tcp first (see here).
Kubectl
The most common way to connect to the Kubernetes cluster is the ‘kubectl’ command. The command is automatically installed on the cluster node during K3s installation.
To connect to the cluster you have to let kubectl know where to find the kubeconfig. You can do this by either specifying the kubeconfig file as option, setting a environment variable or copying it to ‘~/.kube/config‘ – whatever suits you better:
# specifying the kubeconfig file as option,
kubectl --kubeconfig=/etc/rancher/k3s/k3s.yaml  get nodes
# <output>

# setting a environment variable or
export KUBECONFIG=/etc/rancher/k3s/k3s.yaml
kubectl get nodes
# <output>

# copying it to '~/.kube/config'
cp /etc/rancher/k3s/k3s.yaml ~/.kube/config
kubectl get nodes
# <output>
With the kubeconfig in place you can try the following two commands.
> kubectl get nodes
NAME                          STATUS   ROLES                  AGE    VERSION
vmxx28193.bydddddserver.net   Ready    control-plane,master   255d   v1.20.0+k3s2


> kubectl get pods --all-namespaces
NAMESPACE     NAME                                      READY   STATUS      RESTARTS   AGE
kube-system   local-path-provisioner-58fb86bdfd-r5zcp   1/1     Running     0          2m10s
kube-system   metrics-server-6d684c7b5-2g7wq            1/1     Running     0          2m10s
kube-system   helm-install-traefik-zv6bp                0/1     Completed   0          2m9s
kube-system   svclb-traefik-98bgg                       2/2     Running     0          107s
kube-system   coredns-6c6bb68b64-hr2dv                  1/1     Running     0          2m10s
kube-system   traefik-7b8b884c8-qqhgf                   1/1     Running     0          107s
The first command will show you the nodes with are part of your cluster, while the second command shows the deployed Pods. For more commands I would advise you to check out the kubectl Cheet Sheet.
Lens Kubernetes IDE
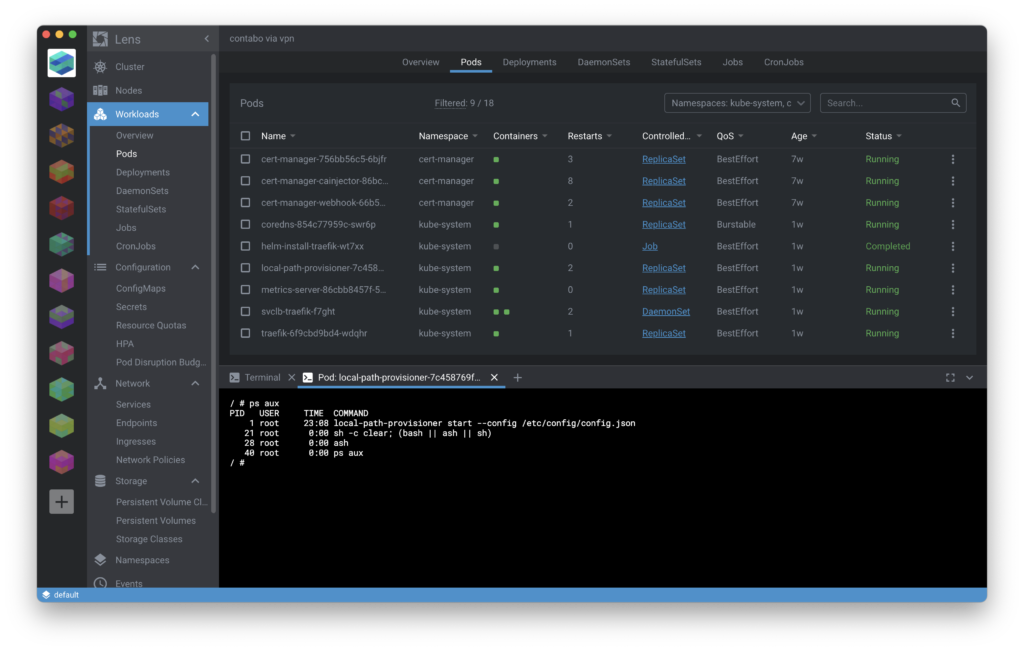
If you prefer a graphical interfaces to manage your cluster you should definitely check out Lens. It really makes it easier to manage your Workloads, ConfigMaps, Secrets, Services, Ingresses and gives you a overview of whats going on. And the best thing is, that it’s completely free and open source.
“Lens provides the full situational awareness for everything that runs in Kubernetes. It’s lowering the barrier of entry for people just getting started and radically improving productivity for people with more experience.”
https://github.com/lensapp/lens/
Its available for Windows, Linux and MacOS and you can download it from https://github.com/lensapp/lens/.
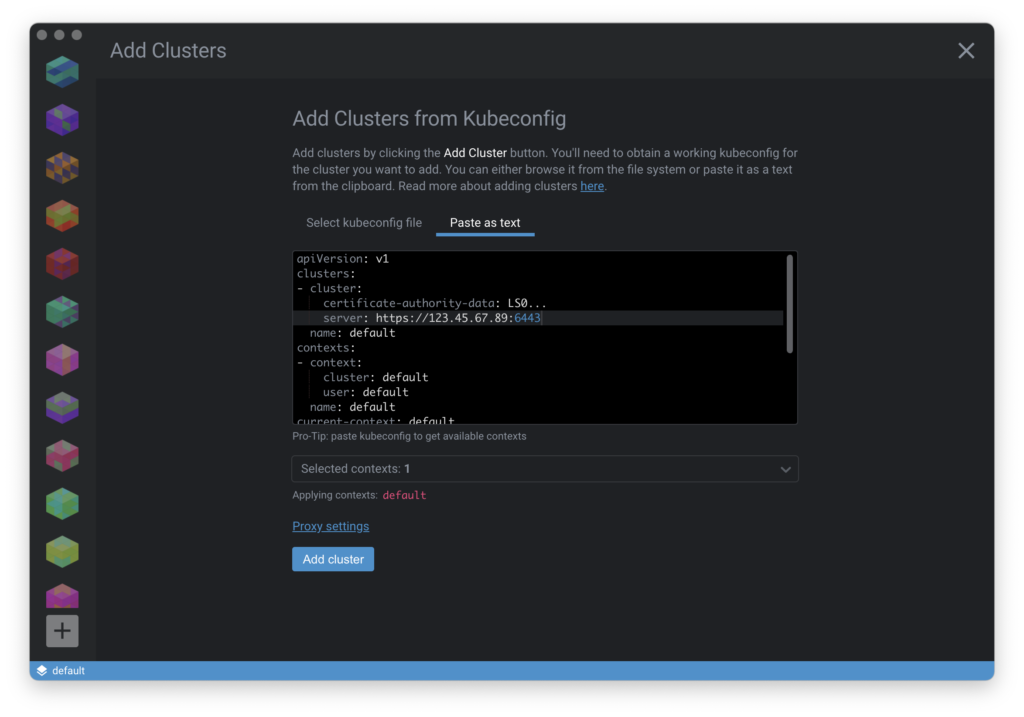
To add a your cluster simply navigate to File / Add Cluster and paste your Kubeconfig as text.
Kubenav
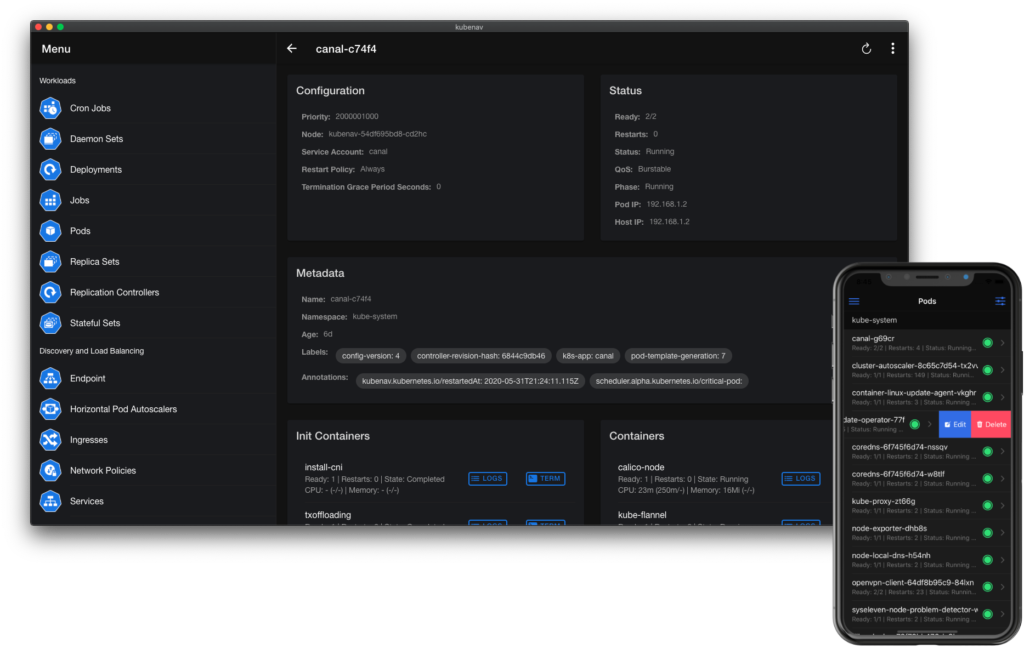
Kubenav is also a graphical Kubernetes tool. The best thing about Kubenav is that it’s available for mobile Android and iOS devices so you can manage your Kubernetes cluster on the road ;). Kubenav is also open source available on the iOS App Store and on the Play Store. You can also download a desktop version from the Github repository.
After installation navigate to ‘Clusters’ and press the plus sign to add a cluster. Scroll down to ‘Import Kubeconfig’, paste the content into the textfield and press ‘add’.
Note: The Kubernetes API port (TCP/6443) must be available to your mobile phone. If you don’t want to open that port to the internet you can connect to the cluster via VPN. See my guide for setting up Wireguard on Ubuntu.